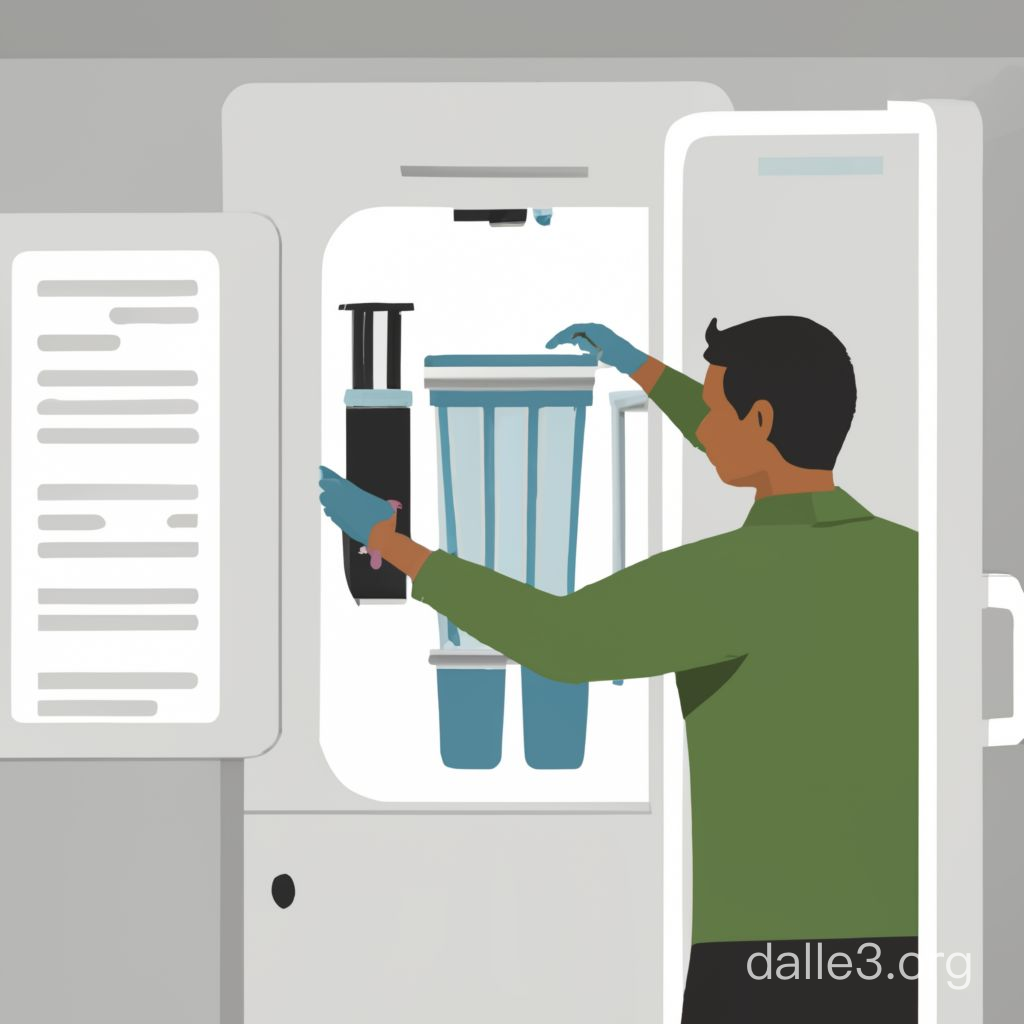
Countless individuals don’t know they must maintain and change the water filter on their refrigerator’s water dispenser. When a light starts flashing with a message to change the filter, their first thought may be to call a repairman for help. There is no need to do so.
Most people find replacing the water filter is easy. The entire process typically takes just a few minutes, and there is no fee for the repairman. The cost of the filter is minimal, as well, so you can have fresh drinking water in no time. What do you need to do to make this happen?
Purchase a Replacement Filter
Have the replacement filter on hand before you begin removing the old one. Having the replacement readily available allows the process to continue from start to finish. You won’t need to stop, go purchase a filter, and return home while your family does without this appliance.
Turn Off the Power to the Refrigerator
Some manufacturers have you turn off the power to the refrigerator. Not all do, but you are working on an electrical system around water. It never hurts to take this step, even when it is not required.
Determine the Location of the Filter
Manufacturers often place the water dispenser filter in the top compartment of the refrigerator. Look at each side of this compartment to see if you can locate the filter. If you do not see it here, check behind the trim plate at the base of the refrigerator in the front. One last place to look is behind the service panel at the top of the appliance. Built-in refrigerators often have filters hidden here.
For more tips on maintaining refrigerator appliances, check out our blog here.
Remove the Old Filter
Water dispenser filters come in three basic types. You will either have a filter that you need to twist counterclockwise to remove or the filter will have a button that you push to release the filter. If neither of these methods works, push the filter down to release it.
Dispose of the Filter
Hold the filter upright to prevent water from spilling. Have a container nearby to set the filter in. This container is also of help if water continues to come from the dispenser once you remove the filter. Use a towel to collect this excess water. Some filters today come with a dust cap on the new unit. Remove this dust cap before installing the filter, and use the cap to contain any water remaining in the filter you plan to throw in the trash.
Install the New Filter
Install the new filter in the refrigerator, reversing the method you used to remove it. Turn the new filter clockwise or align it with the holder and push it into place. Filters you twist into place often make a clicking sound when you properly insert them. For models with a push-button filter release, look for the button to return to its normal position once the new filter is in place.
Run Water Through the Unit
Restore power to the refrigerator and run water through the dispenser. Doing so serves two purposes. It allows you to look for leaks while removing any impurities in the filter. Collect this water and use it for plants or other purposes.
Record the Date
Record the date of the filter change so you know when this task must be completed next. Some refrigerators have an indicator. Reset this indicator. Otherwise, write the information down in your home maintenance calendar.
Most manufacturers recommend changing this filter twice a year. If you notice a decline in your water or ice quality, consider changing the filter sooner. You may also want to change the filter if the water flow decreases or your refrigerator beeps every time you go to dispense water. Once you know the steps to change the filter, doing so will be effortless. Try it today, and see just how easy this task is.


