
In the ever-changing landscape of kitchen appliances, your refrigerator stands as a central feature, powered by a compressor that, over time, might require a switch-out. You now have the official compressor replacement kit for your fridge, and you’re ready to get started on the installation. This task involves more than just following a set of instructions; it’s about getting to know your appliance’s specific needs to ensure it continues to operate efficiently in the long run. Equip yourself with the proper tools and a keen awareness of the technical details involved in refrigeration.
However, safety comes first. What dangers could you encounter, and how do you prevent them? As we delve into the installation process, we’ll highlight the essential safety measures to keep you safe and your appliance in top condition.
Installing a new compressor is no small feat—it requires attention to detail and a careful approach. But don’t worry, we’ve got you covered with a step-by-step guide that will simplify the process and help you avoid common pitfalls. Remember that it’s crucial to turn off your fridge and disconnect it from the power supply before starting any work. This is not just for your safety but to protect the intricate electronic components of your refrigerator from potential damage.
Now let’s move on to the actual installation. Begin by removing the back panel of your fridge to access the old compressor. Take care when handling refrigerant lines and electrical connections. It’s important to have a clear workspace and keep track of all screws and parts.
Once the old compressor is out, it’s time to unlock the potential of your new unit. Place it in the designated spot and reconnect the lines and wiring. Ensure all connections are secure and there are no leaks in the refrigerant lines. It’s equally important to follow the manufacturer’s guidelines for any additional steps.
Safety Precautions and Preparation
Before you start replacing a fridge compressor, make sure to cut off the power. This step is critical to avoid any chance of electric shock.
Set up your workspace in a well-lit area with enough space to move around comfortably. Get all the tools and the replacement kit ready so you won’t have to stop in the middle of the job.
It’s key to install the kit correctly because if you don’t, your fridge mightn’t cool as well and could use more electricity. Carefully read the instructions from the manufacturer and get to know your fridge’s layout. This will help you improve the fridge’s function and keep it working smoothly after you’ve put in the new compressor.
Safety First
Always disconnect your fridge from its power source before you start working. This is a non-negotiable step to keep you safe from electrical hazards.
Setting Up Your Workspace
Find a spot that’s bright and spacious. Having a good area to work in will make the installation easier. Make sure you have all the tools and parts from the kit within reach.
Installation Importance
Installing the kit the right way is crucial. If you don’t, your fridge mightn’t cool properly and could end up costing you more on your energy bills. Take the time to understand the instructions and the layout of your fridge.
Enhancing Fridge Performance
By following the guidelines carefully, you’re not just fixing your fridge — you’re making sure it works at its best. This means better cooling and efficient operation after you’re done.
Remember that taking the time to prepare and understand your task will pay off with a smoothly running appliance.
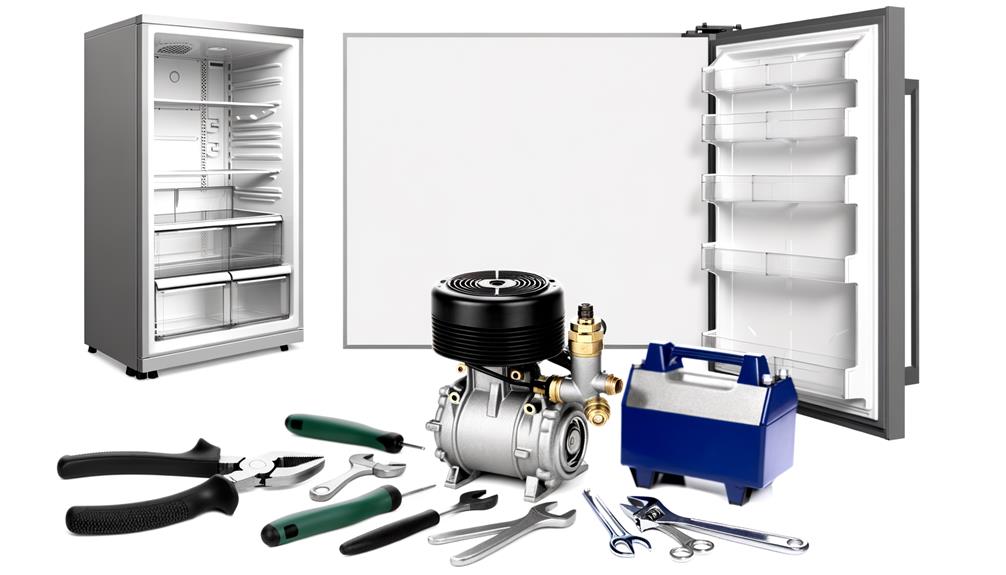
Gathering the Necessary Tools
Gather your tools, including a socket set, screwdrivers, pliers, a multimeter, and a refrigeration wrench, to ensure you have everything necessary for a successful compressor replacement. Before you start, perform tool maintenance to verify that each piece is in good working order. A well-maintained tool not only makes the job easier but also ensures safety.
Here’s what you’ll need:
1. Socket Set: Various sizes are essential for removing and securing bolts.
2. Multimeter: To check electrical connections for continuity and proper voltage.
3. Refrigeration Wrench: Specifically designed for refrigeration systems to manipulate service valves.
Removing the Old Compressor
With your tools at hand, it’s time to take out the old compressor from your refrigerator. First things first, unplug the fridge to make sure you’re safe. Then get to the compressor area, which you’ll usually find at the back or bottom of the fridge. Carefully unplug the electrical wires, and make a mental note of how they fit together for when you put it all back together. Use a wrench to loosen and disconnect the copper lines, and quickly cover them up to keep moisture out and protect the system.
Knowing how long a compressor should last is key because if it stopped working too soon, you might still have a warranty that could cover it. Once you verify that, carefully unscrew the bolts holding the compressor in place and lift it out carefully to avoid any oil leaks. Make sure to throw away the old compressor the right way, following the rules about getting rid of refrigerants. Now you’re ready to put in the new compressor.
Installing the New Compressor
It is crucial to place the compressor in the rightful spot where the previous one was. Once positioned, securely fasten the compressor using the provided bolts or brackets. This step is essential to prevent any unwanted movement, as a stable compressor will not only operate quietly but also have a longer lifespan.
The electrical wiring must be connected correctly. Take the time to connect each wire to its respective terminal on the compressor. It is advisable to carefully compare your work against the wiring diagram to avoid any mistakes that could lead to malfunctioning.
It is vital to check the efficiency ratings of your new compressor and ensure that they meet the specifications of your refrigerator. The right efficiency levels will ensure that your home appliance performs optimally without consuming excessive energy.
Testing and Troubleshooting
Once your new compressor is installed, it’s crucial to test the system to ensure it operates correctly and troubleshoot any issues that may arise.
Begin by monitoring the refrigerator for a few hours to verify the cooling efficiency. If the temperature doesn’t drop or if it’s not consistent, check for potential refrigerant leaks or blockages in the system.
Listen carefully for unusual compressor noises, which could signify improper installation or mechanical failure. A humming sound is normal, but clicking, rattling, or loud vibrations require immediate attention. Verify all connections are secure and that the compressor mounts are properly tightened.
If you encounter persistent problems, consult the manufacturer’s troubleshooting guide or seek professional assistance.
Your goal is to provide a fully functional refrigerator, achieving optimal performance for those you serve.