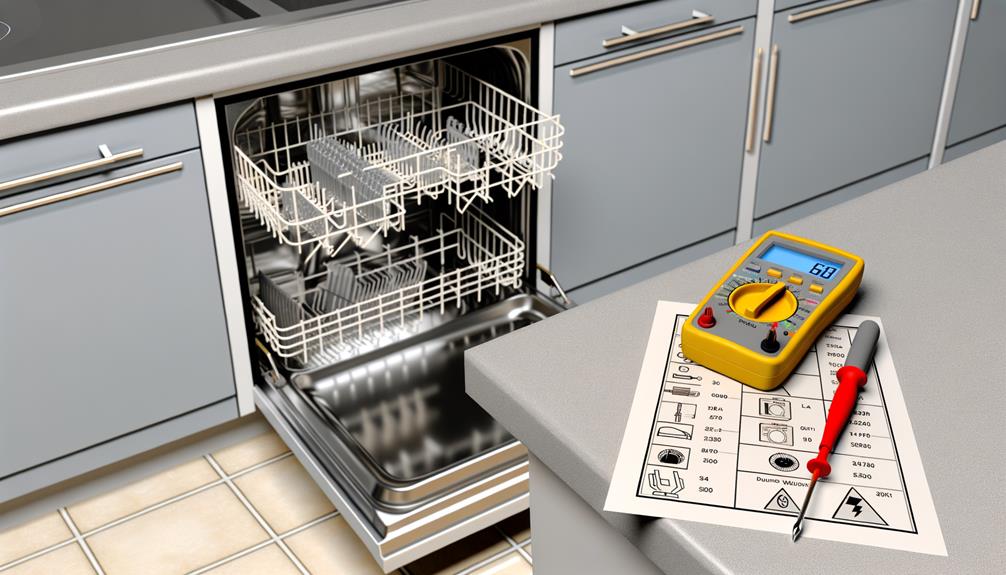
Picture this: You’re standing in front of your dishwasher, which is flashing an error code. Instead of frustration, see it as a chance for a rewarding do-it-yourself project. Like many before you, you’ve encountered these perplexing signals. But don’t worry, deciphering these codes is not as hard as it seems, and you can do it just as well as any expert.
Understanding these codes is key to fixing the issue yourself, sparing you both time and money, and the hassle of washing dishes by hand. Armed with a screwdriver and determination, remember that simple solutions often exist for common problems. Why wait for a technician when you can tackle water issues, sort out drainage, or reset codes on your own?
If you’re ready to embark on this journey of demystifying dishwasher error codes, we’ve got you covered. Stay with me here, and let’s explore the steps to transform those annoying bleeps and blinks into a dishwasher that runs smoothly and quietly.
The sense of achievement from fixing your dishwasher is within reach. Unlock the potential of your handy skills and say hello to a well-functioning kitchen appliance. Remember that with a little patience and the right information, you’re just as capable as a pro.
Understanding Common Dishwasher Error Codes
Let’s take a look at the most common dishwasher error codes and what they mean, including how to fix them. Keep in mind that error code meanings can differ between brands, so it’s important to check your dishwasher’s manual for specifics. Nonetheless, some error codes are widely recognized.
‘E1’ indicates a water heating problem. Check the heating element and thermostat. ‘E2’ means water not draining; check the drain hose and pump. Lastly, ‘E3’ points to a temperature sensor failure, requiring testing or replacement.
Troubleshooting Water-Related Issues
If you’re grappling with water-related issues in your dishwasher, understanding what to do is vital. Let’s dive into a straightforward guide to keep your machine running smoothly.
Firstly, let’s tackle water hardness. It’s important to consult your user manual for the right settings and adjust them based on the mineral content in your water. Remember that if your dishwasher has a softener unit, it’s important to regularly refill the salt.
Now let’s move on to checking the inlet valve. Make sure its electrical connections are secure and look for any signs of blockage or wear. For a thorough check, use a multimeter to test the valve’s functionality.
When it comes to general water flow, there are a few key steps to follow. Clean the filters regularly to ensure water can enter the machine without hindrance. Also, check that the spray arms move freely and that there are no blockages in the drain lines.
Fixing Drainage Problems
If your dishwasher isn’t draining as it should, start by checking the drain pump. Look for anything that might be clogging it up and remove any blockages you find. It’s also important to keep the filter clean, so follow the manufacturer’s instructions to ensure it stays in good shape. This can help prevent drainage problems in the future.
Next, take a look at the drain hose. Make sure it’s not twisted or blocked in any way. If you find a clog, disconnect the hose and clean it out with a mix of hot water and vinegar, which can help break down the buildup. Once you’ve done that, reconnect the hose carefully, avoiding any bends that could restrict water flow.
After you’ve taken these steps, run a test cycle to see if the dishwasher is draining properly now. Remember that regular maintenance can save you from bigger headaches down the line. Keep your dishwasher’s filters and hoses clean, and you’ll avoid many common drainage issues.
Resolving Heating Errors
When your dishwasher isn’t heating water as it should, making sure the heating element works is a key step. Here’s a straightforward guide to diagnosing the issue:
-
- Checking Components
-
- Inspect the heating element for any visible damage.
-
- Test the high-limit thermostat to ensure it’s operating correctly.
-
- Review the control board for any signs of malfunction.
-
- Inspecting Insulation
-
- Examine the insulation around wires for any damage.
-
- Inspect connections to make sure they’re not corroded or loose.
-
- Confirm that all safety features are in place and working properly.
Starting with the heating element, use a multimeter to test for continuity—this will tell you if the element is functioning or if it’s time to replace it. If the element is fine, move on to the high-limit thermostat; it’s a safety device that prevents overheating, and if it’s faulty, it could be the reason your dishwasher’s water isn’t getting hot.
Next, take a close look at the control board, which is the brain of your dishwasher. Issues here could disrupt the heating process. Similarly, damaged insulation or poor connections can lead to heating failures, so ensure these are all in good condition.
Remember that regular maintenance can prevent many common dishwasher problems. If you’re not confident in doing these checks yourself, consider seeking professional help.
Resetting Your Dishwasher
To begin resetting your dishwasher, first find the power button or control panel. If the dishwasher isn’t reacting to commands, make sure the power isn’t disrupted by checking the circuit breaker. Turn off the breaker connected to your dishwasher, wait for a short period, and then turn it back on. This simple action can often fix small issues.
Next, keeping your dishwasher’s filters clean is key for it to work well. If you’re not sure how to clean the filter, check the manufacturer’s instructions. Usually, you’ll need to remove the bottom rack to reach the filter, turn it to unlock, and take it out. Clean it under running water and scrub it if necessary. Put the filter back in by doing the previous steps in reverse.
To finish the reset, switch on the dishwasher, and it should be ready to go.
Remember that regular maintenance, like filter cleaning, can greatly improve your dishwasher’s performance. In our busy lives, a functioning dishwasher is a convenience we can’t overlook. By taking these straightforward steps, you can often fix and maintain your appliance without the need for a professional.

